How To Make A Mood Board
Creating a mood board is an essential part of the design process, whether you’re working on a graphic design project, planning an event, or redecorating your home.

What is a mood board?

Mood boards are a stylish way to organize your ideas and inspiration visually.
They can be used for everything from wedding planning to interior design. It is a collection of images, colors, patterns, textures, and/or fonts that represent a project’s overall feel visually.
A mood board is a visual representation of your ideas and inspiration for a project.
Creating a vision board can help you communicate your vision to your team and ensure everyone is on the same page before beginning a project.
It can also help you express your vision to your clients so they can provide feedback early on in the design process.
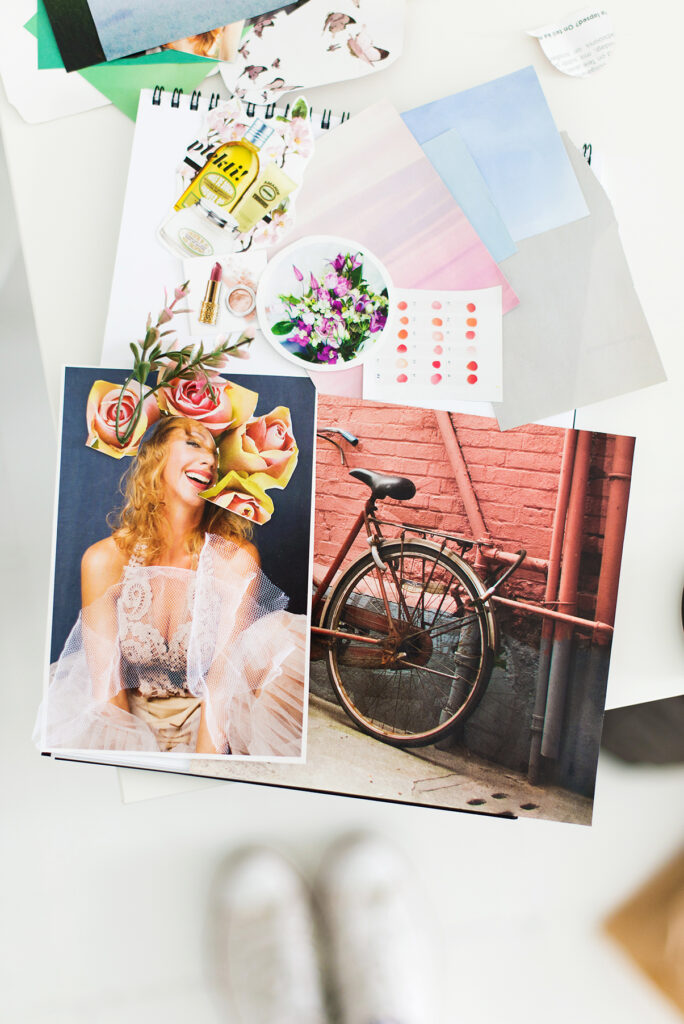

Gabrielle Smith mood board for social media branding on Behance
What is the purpose of a mood board?
The purpose of a mood board is to visually communicate a specific mood, theme, or style for a project.
It is a collection of images, colors, and other design elements that represent the overall aesthetic or vibe that the creator is trying to achieve. Mood boards can be used for a variety of creative projects, such as graphic design, interior design, fashion design, web design, and more. They help to establish a visual direction and provide a reference point for the creator to ensure that all design elements work together cohesively.
In addition, mood boards can be used by designers to communicate ideas and concepts to clients or collaborators.
Maybe you are an interior designer, brand stylist, or event organizer.
By presenting a visual representation of the project, the creator can ensure that everyone involved feels inspired, and is working towards the same vision.
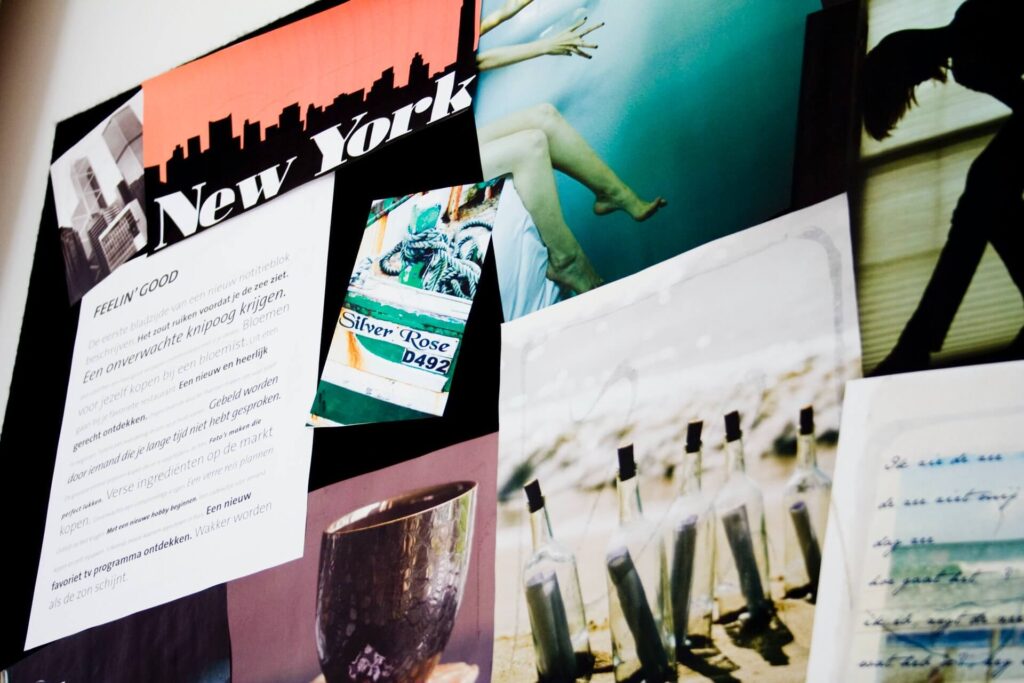
Visualizing and analyzing inspiration
Once you are active with creative projects, you should know how to make a mood board (or vision board), as it is a valuable tool for:
- Foundation — It helps establish a strong foundation of what the end result could look like.
- Inspiration — A mood board will help bring things into focus and offer clarification in working out your brand identity.
- Guidance — A mood board that accurately reflects your brand can be a guide to keep you focused on your brand identity when creating your logo, business cards, website, or other marketing materials.
- Easy collaboration — A mood board ensures that your designer, team members, and stakeholders immediately understand your brand and vision.
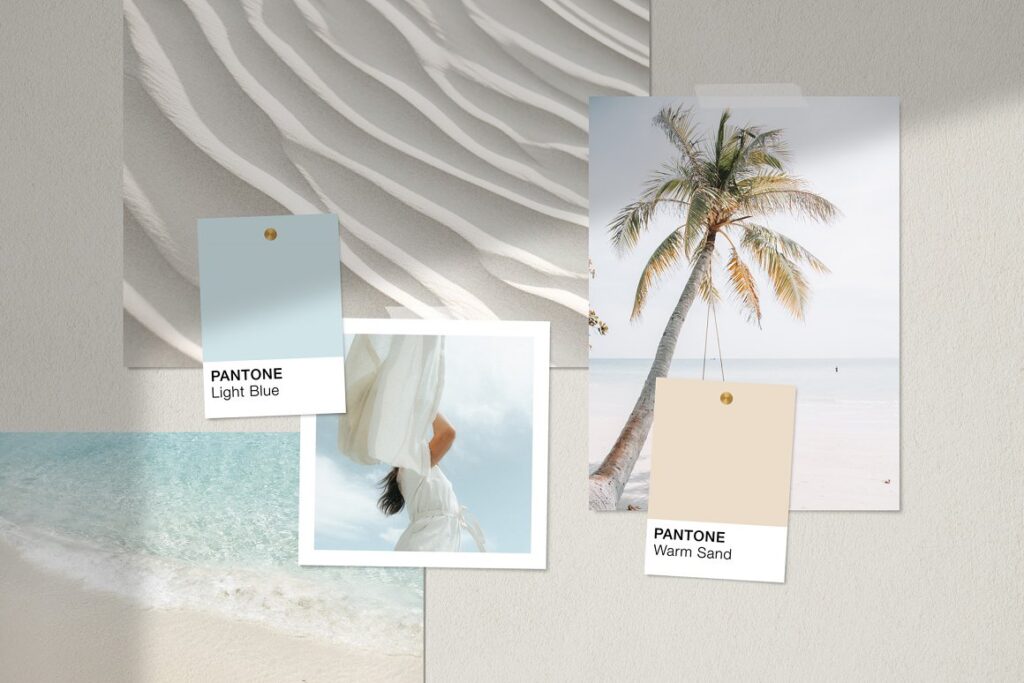
Images you should include on your board
The images that you include on a mood board will depend on the specific project or concept that you are trying to convey.
However, there are a few general guidelines that can help you choose the right images:
Focus on the mood or feeling: The purpose of mood boards is to communicate a specific mood or feeling. Choose pictures that evoke the emotion or aesthetic that you are trying to achieve. For example, if you are creating a mood board for a cozy winter theme, you might include photos of warm blankets, hot cocoa, and snowy landscapes.
Use a variety of image types: Including a mix of different types of images can help to create visual interest and depth.
Consider including photographs, illustrations, patterns, and other design elements.
Stick to a color scheme: Choose materials that fit within a specific color scheme to ensure that the mood board is cohesive and visually appealing. For example, if you are working on a project for a tropical theme, you might focus on bright, saturated colors like turquoise, coral, and yellow.
Consider the audience: Think about who will be viewing the mood board and choose images that will resonate with them. For example, if you are creating a visualization for a children’s clothing line, you might include playful illustrations and bright colors.
Stay true to the brand: If you are making mood boards for a specific brand or project, be sure to choose images that fit within the brand’s overall aesthetic and style.
The materials that you choose for a mood board should be carefully selected to convey a specific mood, theme, or concept.
Can you use text, or is it just images?
Yes, you can use text.
While mood boards are typically made up of images, they can also include text to help communicate the specific mood or theme. Text on a mood board can include descriptive words or phrases that convey the feeling or aesthetic that you are trying to achieve.
It can also include quotes or other inspirational words that help to establish the tone of the project.
When using text on a mood board, it’s important to choose fonts and styles that fit the overall aesthetic and complement the photos that you have chosen.
The text should be used sparingly and strategically, as it is meant to enhance the visuals rather than overwhelm them.
In short, text can be a useful addition to a mood board if used thoughtfully and in a way that supports the overall vision and aesthetic of the project.
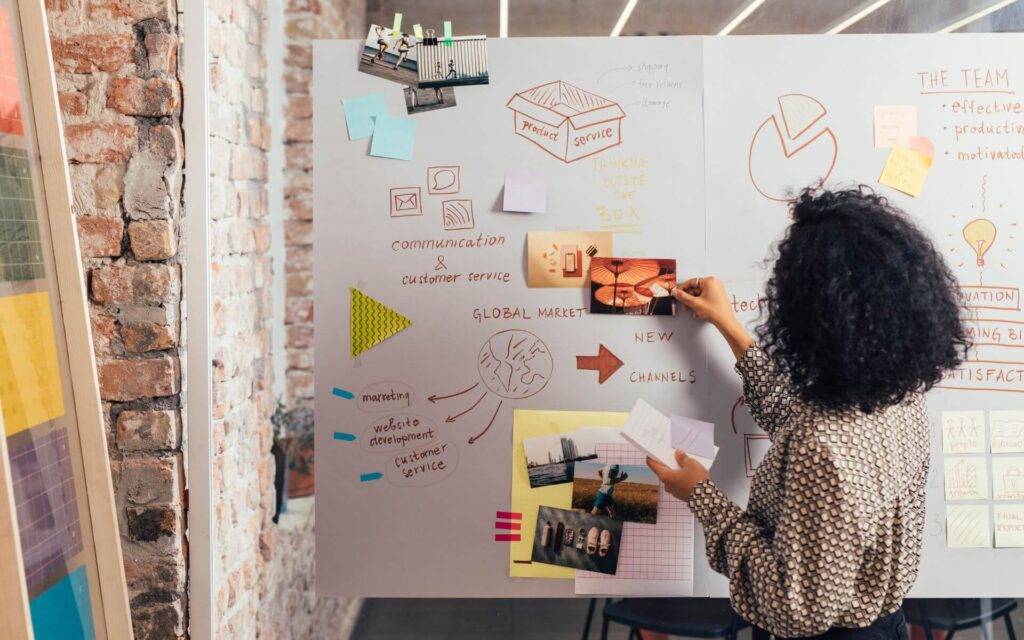
Should you make a physical or digital mood board?
The decision to make a physical or digital mood board depends on your personal preference and the purpose of your project.
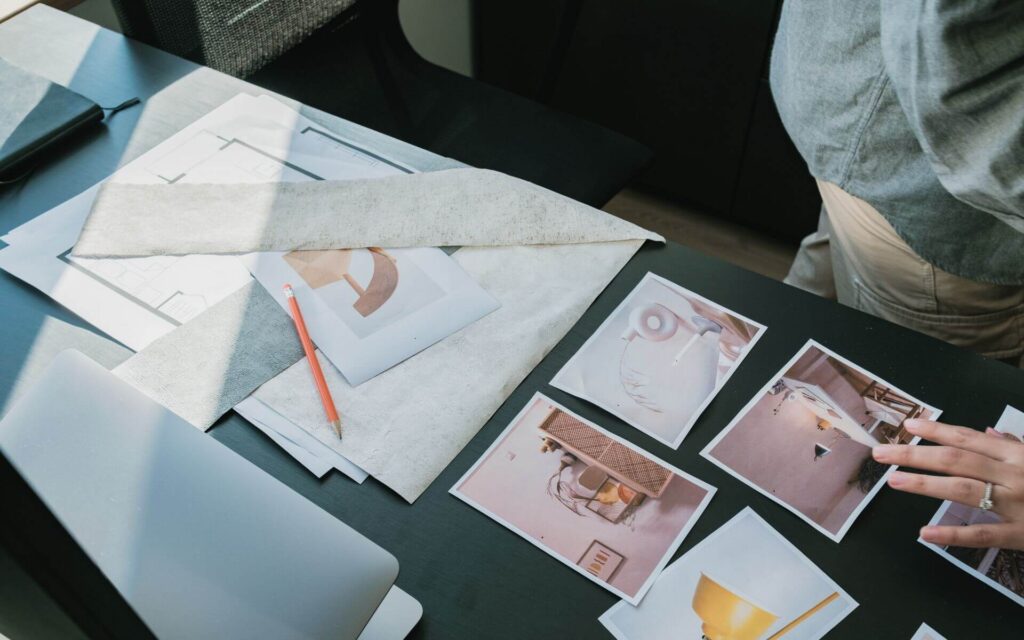
A physical mood board involves gathering and arranging physical materials such as magazine clippings, fabric swatches, and photographs onto a board. It can be a tactile and creative process that allows you to physically interact with the materials and get a better sense of the textures and colors. It can also be a great way to display your ideas in a physical space, making it easy to reference and adjust as needed.
On the other hand, a digital vision board involves using software or online tools to create a visual collage of photos, colors, and textures.
Digital vision boards are often easier to create and can be shared easily with others.
They are also easy to edit and update as needed.
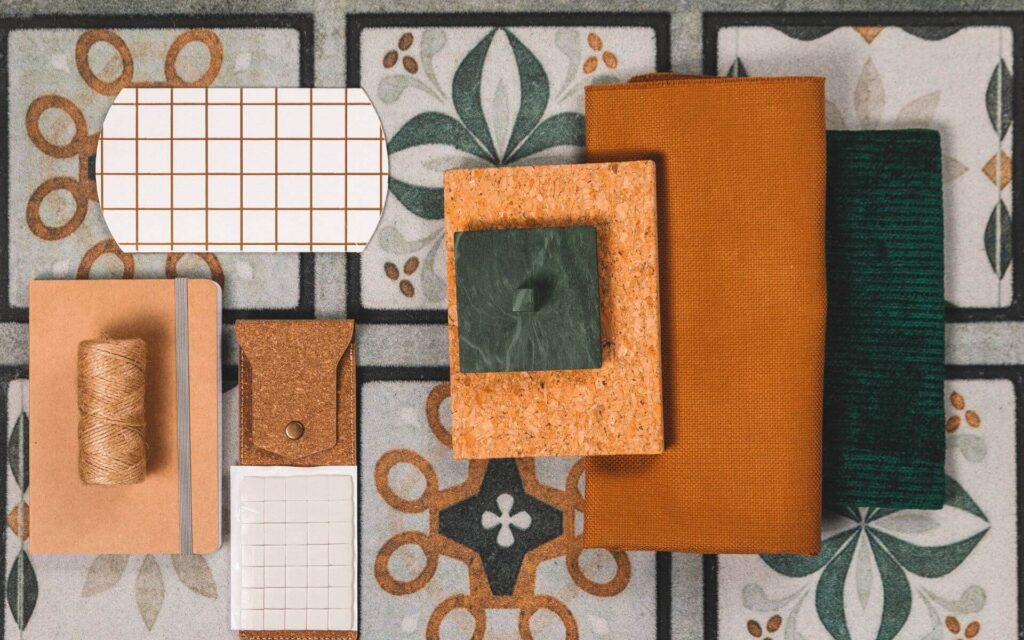
Choose your mood board creator or app
If you are working on a branding project, you will likely want to use a mood board creator that allows you to add and rearrange text elements easily.
On the other hand, if you are designing a product, you may want an app that lets you create mood boards with multiple layers to experiment easily with different color palettes and patterns.
Here is a list of 10 apps and platforms that help you with your project, several of them have both a free and a paid version available.
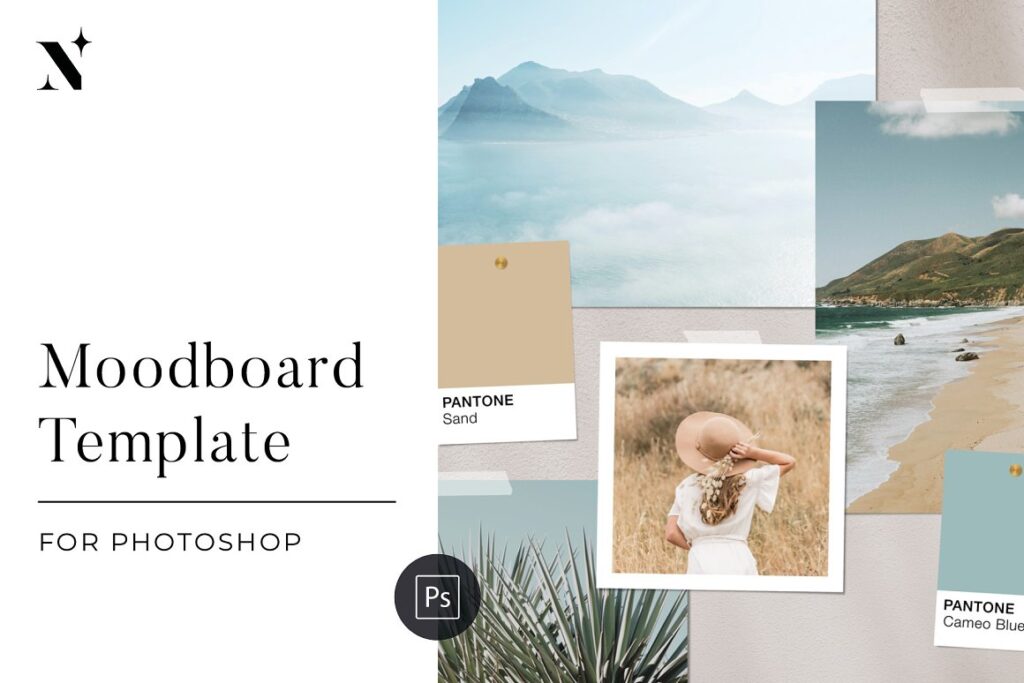
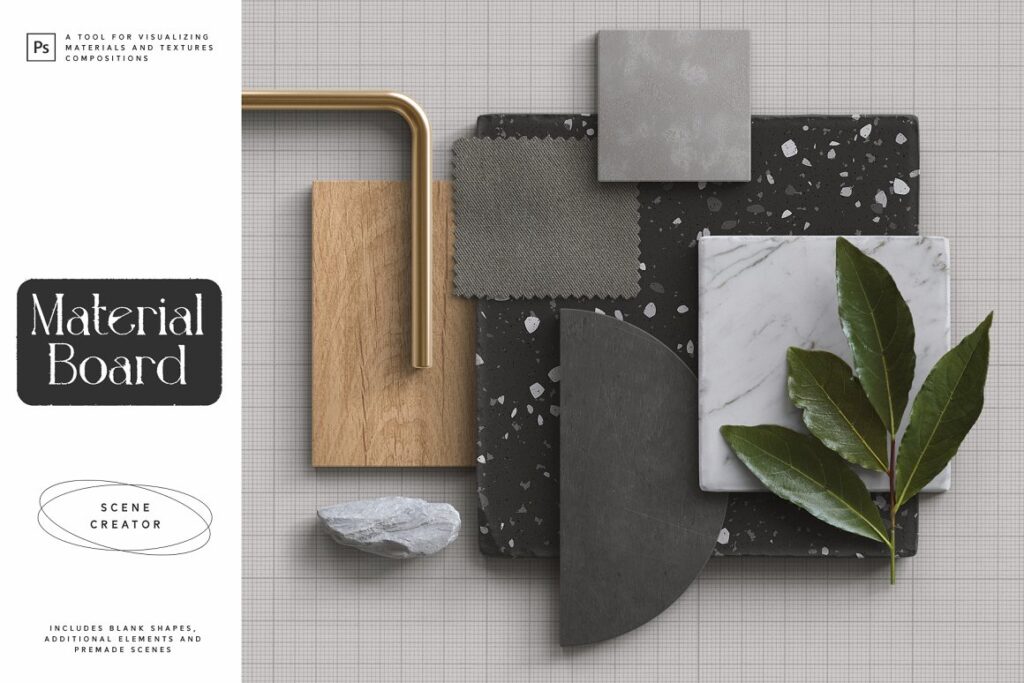
You can also choose to purchase templates from Creative Market.
Use stock image libraries such as unsplash.com or dreamstime.com to source appropriate images, or take your own.
Create mood boards digitally in 5 simple steps
Traditionally, mood boards are created by hand, with pictures and other bits of inspiration taped or pinned to a corkboard.
But these days, there’s no need to limit yourself to physical materials—you can create a stunning vision board using one of the many online tools available.
The first step is to pick a central theme. This could be a color scheme, a feeling, or a design style.
Narrowing your focus will help you choose visuals that fit within your chosen theme and ultimately help bring your project to life.
1. Choose your platform
While there are many online tools you can use to create a digital board, not all of them are created equal.
Some platforms, like Pinterest, are better suited for collecting inspiration from the web. Others, like Canva, offer more flexibility and customization options.
2. Gather your inspiration
Once you’ve chosen a theme and platform, it’s time to start curating your content.
If starting from scratch, do general web research on your topic of interest. Pinterest can be an excellent resource for this, as it allows you to save images and links from around the web in one place.
Wherever you find it, save all your favorite visuals in one place so you can refer back to them later.
You can also look for specific items on sites like Etsy or Adobe Stock.
3. Organize your content
Once you gather a good selection of content, it’s time to start organizing it into a cohesive and inspirational board.
Begin by arranging distinct sections for different aspects of your project—for example, color scheme, typography, or overall feeling—and then drag and drop your content into those sections. If you’re using Pinterest, you can also create boards for each section and pin items accordingly.
4. Edit your mood board as you go
Don’t be afraid to experiment and delete items as you go.
The goal is to create a mood board that reflects your vision, so only keep the images that help you achieve that goal. Also, remember to add explanatory notes next to each image so you can remember why you included it in the first place.
Take a step back and look at your mood board as a whole. Is there anything that doesn’t quite fit?
Are there any gaps in your inspiration?
When you’re happy with the results, it’s time to save your mood board so you can access it later or share it with others involved in your project (like teammates or clients).
Most platforms allow you to download your mood board as an image file or PDF, so choose the format that makes the most sense for your needs and save it accordingly.
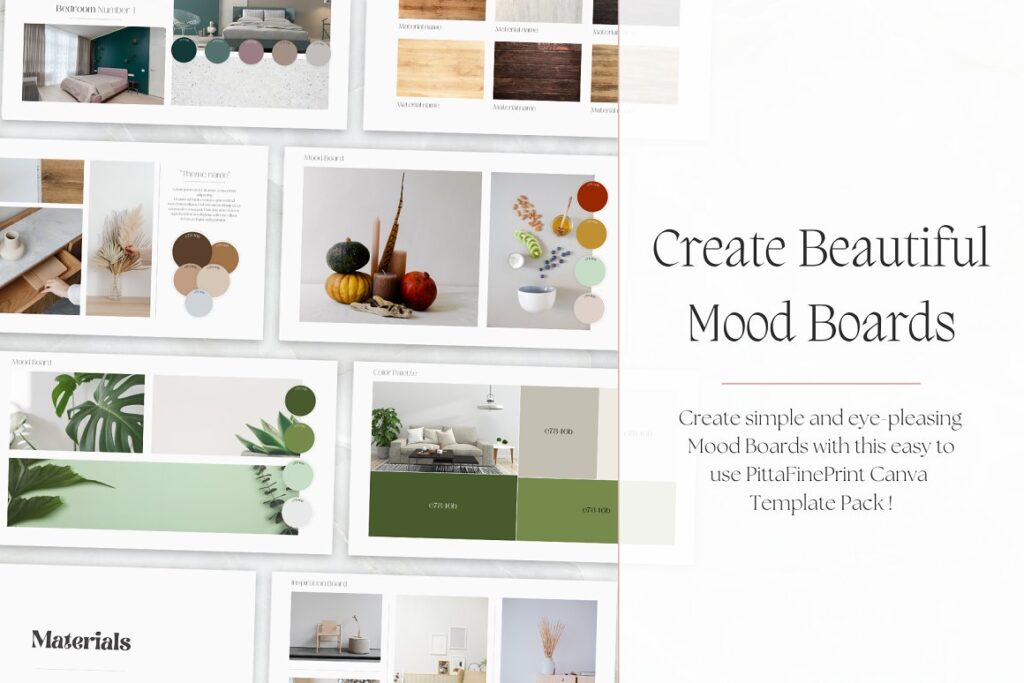
The template below is from William Hansen at Creative Market:
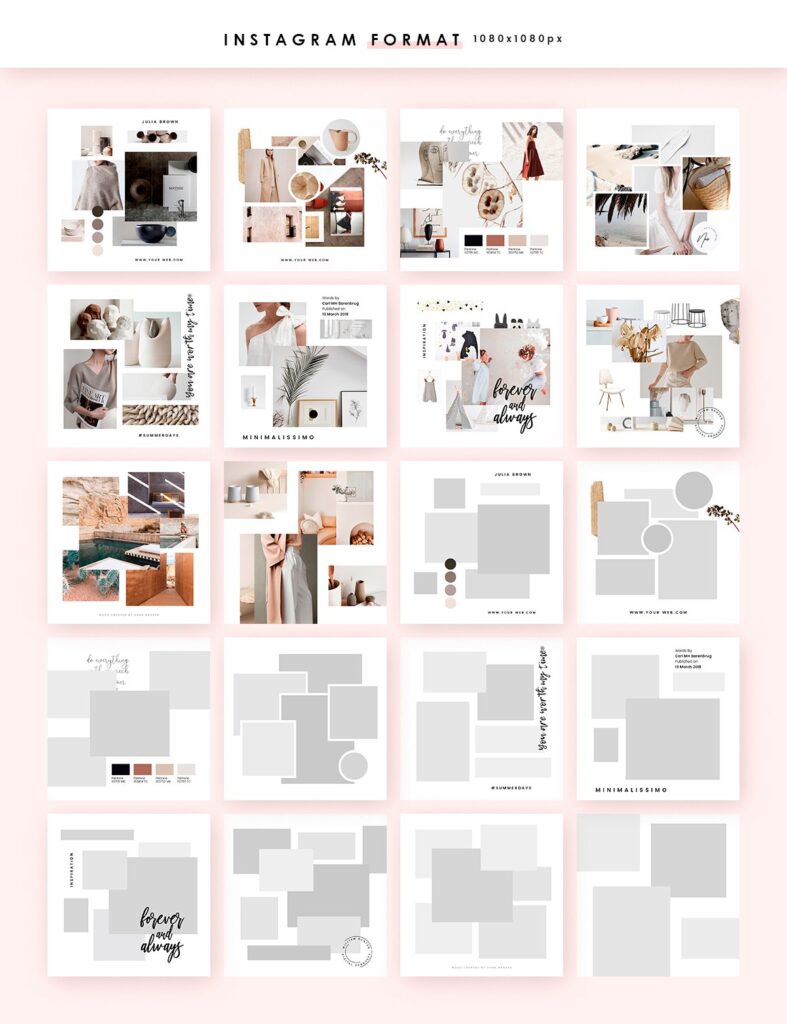
How to make physical mood boards
First, decide on the overall feeling or theme that you want to convey with your mood board.
Good preparation will be your starting point for collecting images, colors, etc.
1. Choose a background
Start by laying down your foam board or butcher paper on a flat surface.
If you’re using foam core board, feel free to cut it down to size with a box cutter or utility knife before you begin.
You want your final product to fit in a standard frame so that it can be hung on a wall or placed on an easel.
2. Gather your supplies
You’ll need a selection of magazines, scissors, glue or tape, and a backing board.
If you’re feeling fancy, add some markers, paints, or other embellishments. Start flipping through the magazines and tear out any imagery or words that speak to you. Don’t overthink it—go with your gut instinct.
The goal here is to develop a visual reflection of the vibe you’re going for, so anything that resonates with you will work.
3. Arrange your images
Once your base is ready, begin placing down your images. Arrange them in any way you like, and don’t be afraid to overlap them. This is your chance to get creative! If you’re having trouble finding enough images in magazines, try looking online for royalty-free imagery that you can print out. Ensure the resolution is high enough so they won’t appear blurry when printed.
4. Add additional materials
After you have arranged all your images the way you want them, start adding your fabric swatches, paint samples, and other smaller objects.
Feel free to overlap and arrange these items in any way that looks pleasing to you. Secure these items with glue sticks or double-sided tape, so they don’t move around too much while you’re working.
5. Review and edit
Once all your items are glued or taped, step back and look at your work.
Is there anything else that you want to add? Are there any areas that feel too busy or cluttered? Now is the time to make final changes before securing everything permanently.
Once you’re happy with the way everything looks, use scissors to trim off any excess butcher paper or foam core board around the edges.
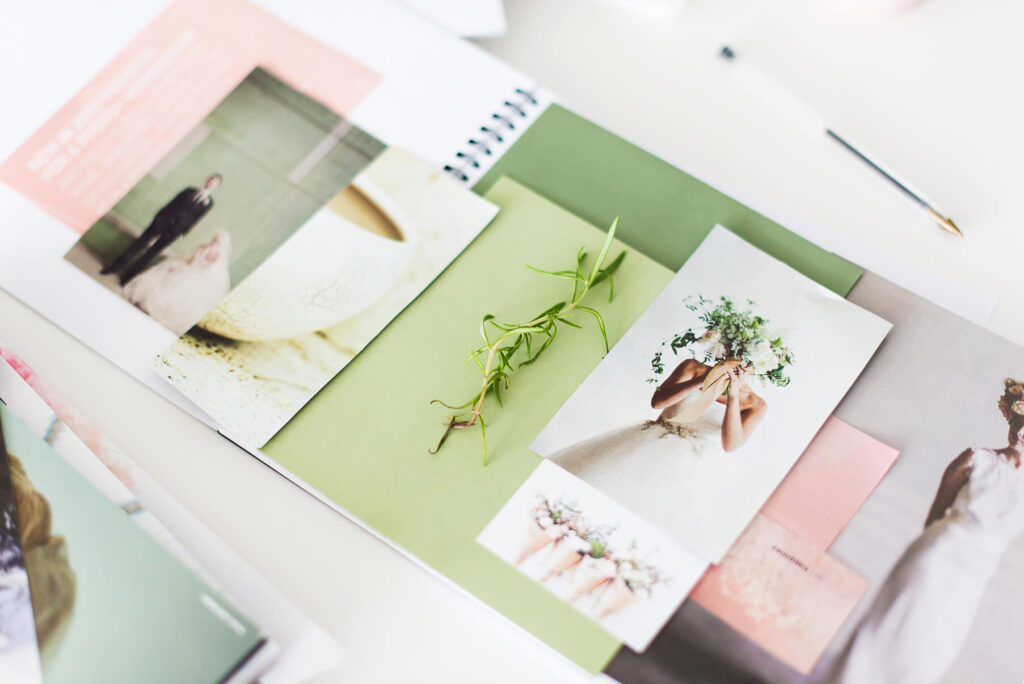
How to a mood board for your brand
Here is an excellent video from the brand design agency Do Good Work, which I highly recommend you watch:
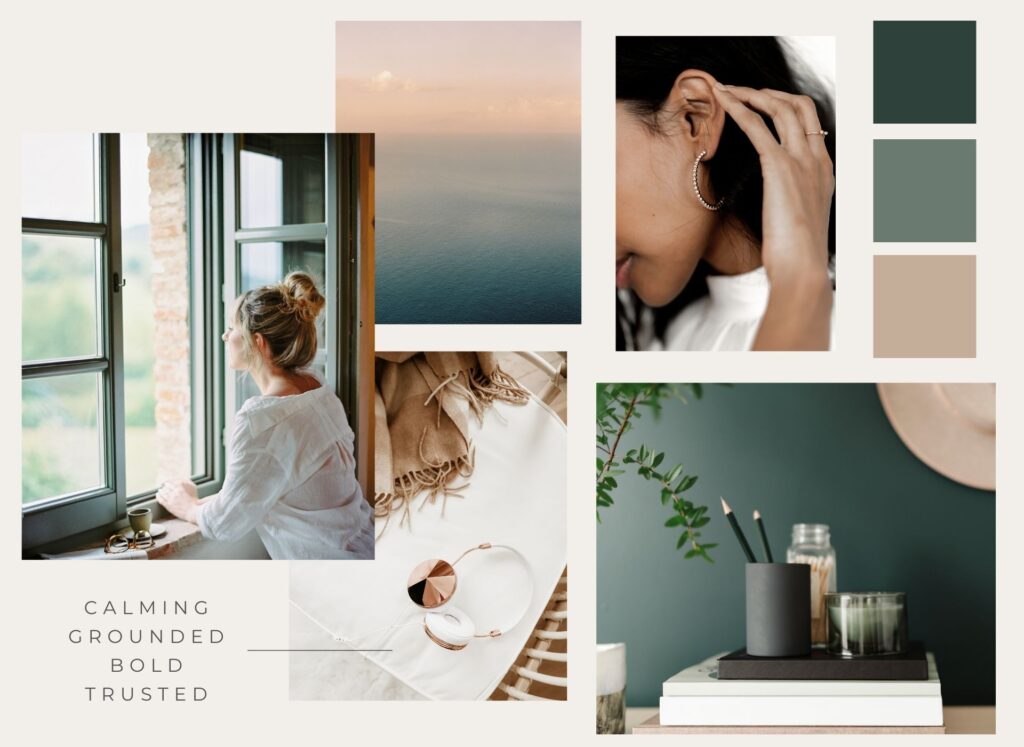
Conclusion:
In conclusion, creating a mood board is a powerful and effective way for professional designers to establish the visual direction for a project, whether you’re working on a graphic design project, planning an event, or redecorating your home.
When you carefully select images, colors, textures, and other design elements that fit together cohesively, you will create an inspirational board that effectively communicates your vision and sets the stage for a successful creative project.

Learn more about moodboarding
6 Steps to Teach Mood Boarding to Clients
10 Essential Elements of a Strategic Moodboard
Last Updated on 01/06/2025 by Victoria Silber


