6 Steps to Teach Mood Boarding to Clients
Teach mood boarding to your clients – it is one of the best tools you can use to align creative direction with them.

It brings clarity fast, saves hours of back-and-forth, and gives clients something concrete to react to. But not every client understands what a mood board is or how to use one.
That’s why it’s your job to guide them through the process in a way that feels useful, not overwhelming.
In this post, I’ll show you how to teach moodboarding to clients in a way that builds trust, unlocks creative insight, and leads to better results for both sides.
What Clients Usually Get Wrong About Moodboards
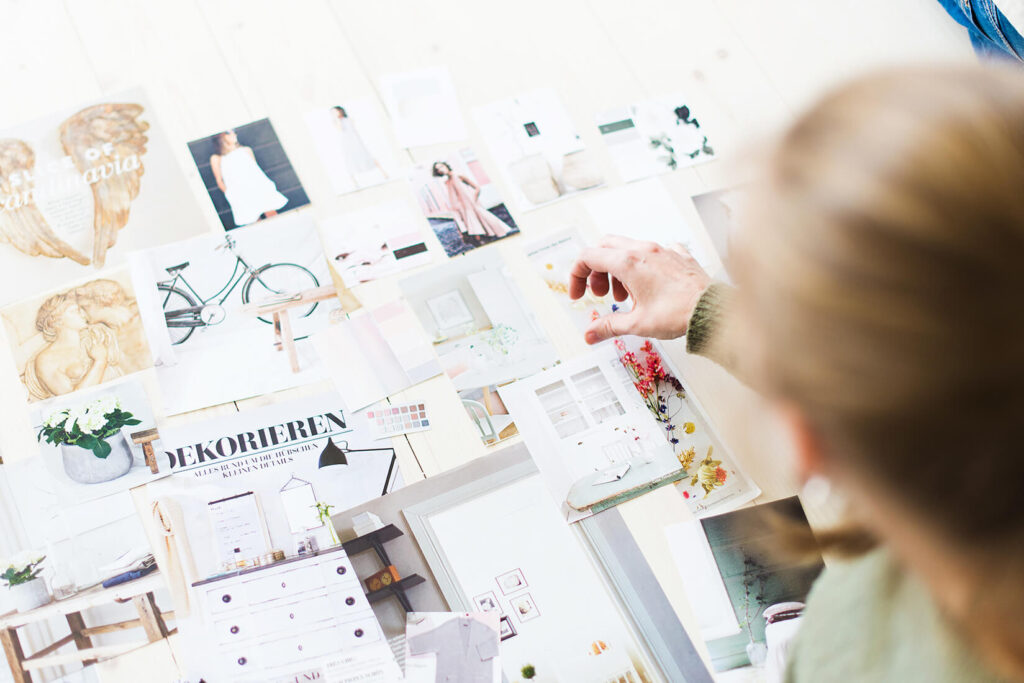
Most clients think a moodboard is just a collage of pretty pictures.
They see it as decorative, not strategic. Some see it as optional. Others confuse it with a vision board or Pinterest collection. You need to reframe it.
A moodboard is not art. It is a tool. It helps make creative decisions before the real design work begins. It helps clients visualize tone, mood, and style. It gives structure to abstract conversations.
To teach moodboarding well, start by explaining what it does and why it matters.
Check out the Mood Board Clarity System I prepared for a major global brand!
Recommended products
Explain the Purpose First
Start every moodboarding conversation with the why.
Tell your client:
- A moodboard is how we define the look and feel of your brand
- It helps us align before we commit to expensive design work
- It gives you a clear voice in the process without needing design skills
Reinforce this point: moodboarding saves time, improves accuracy, and reduces revisions.
Once your client buys into the purpose, they become a better partner in the process.
Step 1: Set Clear Rules
Before you start pulling images, set some rules.
These help your client give feedback that’s actually helpful.
Here’s what I recommend:
- No judging by personal taste. Focus on what fits the brand
- Don’t get attached to individual images. Focus on the overall feeling
- Look at tone, not content. It’s about emotion, not exact objects
- There is no right or wrong. We’re aiming for alignment, not perfection
Frame this as a collaboration, not a test. You want their reactions, but you’ll guide the direction.
Step 2: Ask the Right Questions
Before you create a moodboard, you need inputs that are actually useful. Most creative briefs don’t go deep enough. Ask your client:
- What does your brand need to feel like to your customer?
- If your brand were a place, what would it look like?
- What brands do you admire visually? Why?
- What visuals feel off-brand to you? Why?
Let them speak freely. Take notes. Pull keywords. These answers shape the aesthetic tone.
If you already have a seasonal framework or personality groups, this is the time to introduce them.
Step 3: Show a Simple Example First
Some clients freeze up when you say “moldboard.”
Show them a sample first. Walk them through it.
Explain how each image supports a different part of the brand: tone, color, typography, layout, or material. Talk about how it sets a direction for design. Make it clear that the goal is alignment, not perfection.
Keep the example short and specific. One board. Five to eight images. No clutter.
Clients process visual information better when they know what to look for.

Step 4: Create a Draft and Invite Feedback
Start with one board. Include a mix of color, texture, type, layout, and lifestyle.
Keep it focused. Every image should support a word, tone, or style you discussed earlier.
Send the draft to the client and ask:
- Which images feel right for the brand?
- Which ones feel off?
- Is there a tone or style you would remove?
- What stands out?
Let them give emotional feedback. You translate that into creative direction. Never ask them to make design decisions. You are not outsourcing the moldboard.
You are inviting input to refine it.
Step 5: Translate Their Feedback into Edits
Clients often say things like:
- This feels too cold
- I don’t like that photo
- It looks too corporate
- It’s not premium enough
These comments are useful if you know how to decode them.
“Too cold” might mean you need warmer light, more organic shapes, or richer tones.
“Too corporate” might mean you need more personality, less symmetry, or softer fonts.
Take their reactions seriously. But take control of the interpretation.
Then update the board and send a second draft. Keep the feedback loop short and focused.
Step 6: Lock the Mood board as a Decision Tool
Once the client approves the board, treat it like a contract.
Every design decision refers back to it.
- Does this layout feel like the moodboard?
- Does this typeface match the tone?
- Would this packaging sit beside those images naturally?
This keeps your work aligned. It also makes approvals faster.
You’ve already built a shared visual language.

Common Mistakes to Avoid
- Don’t make moodboards too complex. Keep them focused and curated
- Don’t skip the explanation step. Clients need to understand the purpose first
- Don’t crowd the board with random images. Every element needs intent
- Don’t ask clients to choose fonts or colors yet. That comes later
- Don’t ignore emotional reactions. Learn to translate them into design decisions
Final Thoughts About How to Teach Mood Boarding
Teaching mood boarding to clients makes your work easier, faster, and more aligned.
It saves revisions, builds trust, and leads to better creative results. You don’t need your client to become a designer. You just need them to understand the purpose of the board and respond to the mood, not the details.
Keep the process structured. Ask the right questions. Set clear expectations. Guide the conversation.
Once they see how powerful a moodboard can be, they’ll never want to work without one again.
Learn More About Branding and Moodboards
10 Essential Elements of a Strategic Moodboard
Canva vs Milanote: Which Tool Works Best for Moodboards?
Last Updated on 31/05/2025 by Victoria Silber


